Groups
Groups in Redot work like tags in other software. You can add a node to as many groups as you want. Then, in code, you can use the SceneTree to:
Get a list of nodes in a group.
Call a method on all nodes in a group.
Send a notification to all nodes in a group.
This is a useful feature to organize large scenes and decouple code.
Managing groups
Groups are created by adding a node to a new group name, and likewise they are removed by removing all nodes from a given group.
There are two ways to add/remove nodes to groups:
During design, by using the Node dock in the editor.
During execution, by calling Node.add_to_group() or Node.remove_from_group().
Using the Node dock
You can add nodes in the current scene to groups using the Groups tab in the Node dock.
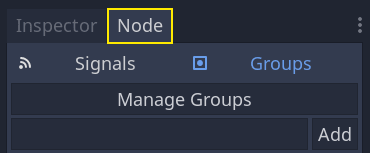
Select one or more nodes in the Scene dock and write the group name in the field, then click Add.
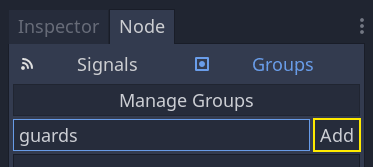
You should now see the group appear.
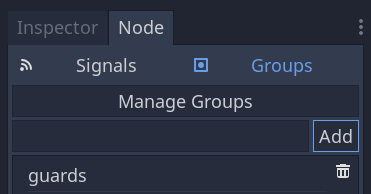
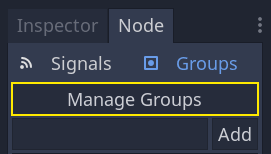
In a complex project, you may end up with many groups or large scenes with many nodes. You can add or remove any node to groups using the Group Editor window. To access it, click the Manage Groups button.
The Group Editor window appears. Here's a screenshot from a complex project to illustrate the tool's purpose.
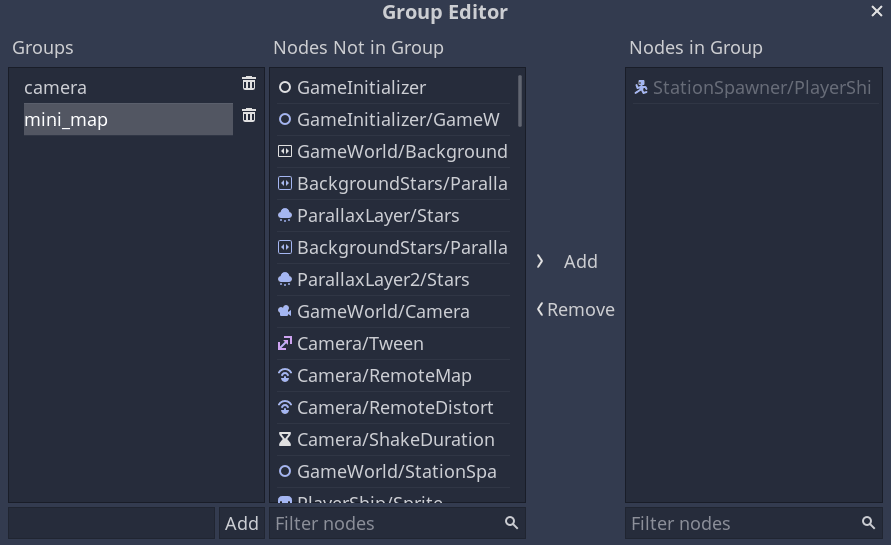
It has three columns:
A list of groups used by nodes in the current scene.
A list of nodes that are not part of the selected group.
A list of nodes in the group.
The fields at the bottom allow you to add new groups or filter nodes in the second and third columns.
Note
Any node name that's greyed out means the node was added to the group in a different scene and you cannot edit it here. This happens on scene instances in particular.
Using code
You can also manage groups from scripts. The following code adds the node to
which you attach the script to the guards group as soon as it enters the
scene tree.
func _ready():
    add_to_group("guards")
public override void _Ready()
{
    base._Ready();

    AddToGroup("guards");
}
Imagine you're creating an infiltration game. When an enemy spots the player, you want all guards and robots to be on alert.
In the fictional example below, we use SceneTree.call_group() to alert all
enemies that the player was spotted.
func _on_Player_spotted():
    get_tree().call_group("guards", "enter_alert_mode")
public void _OnPlayerDiscovered()
{
    GetTree().CallGroup("guards", "enter_alert_mode");
}
The above code calls the function enter_alert_mode on every member of the
group guards.
To get the full list of nodes in the guards group as an array, you can call
SceneTree.get_nodes_in_group():
var guards = get_tree().get_nodes_in_group("guards")
var guards = GetTree().GetNodesInGroup("guards");
The SceneTree class provides many more useful methods to interact with scenes, their node hierarchy, and groups. It allows you to switch scenes easily or reload them, quit the game or pause and unpause it. It also provides useful signals.